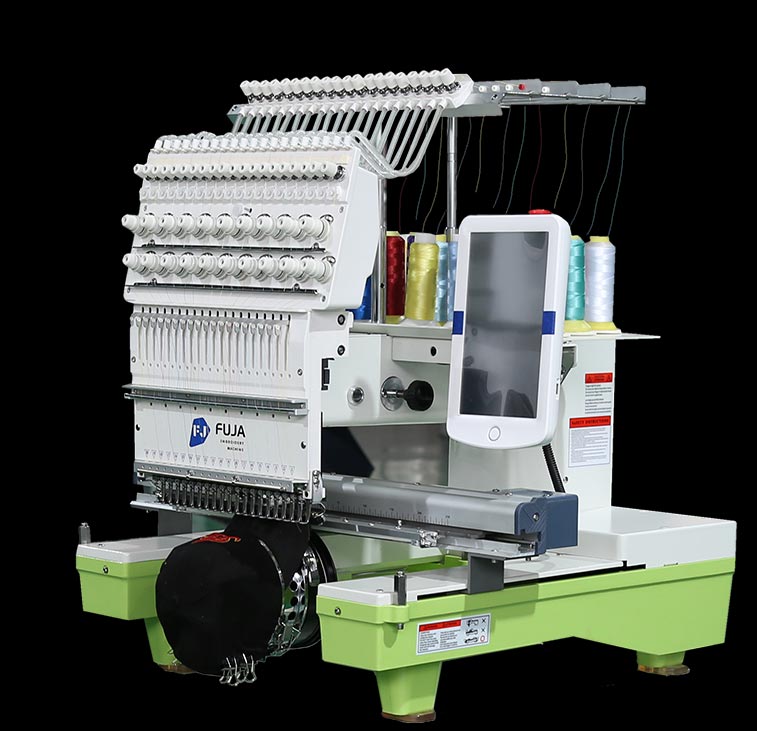
Thread breaks can interrupt work and affect the sample. Record where they occur and what changed before the problem started. Use the checks allowed in the model manual, then ask for support if the cause remains unclear.
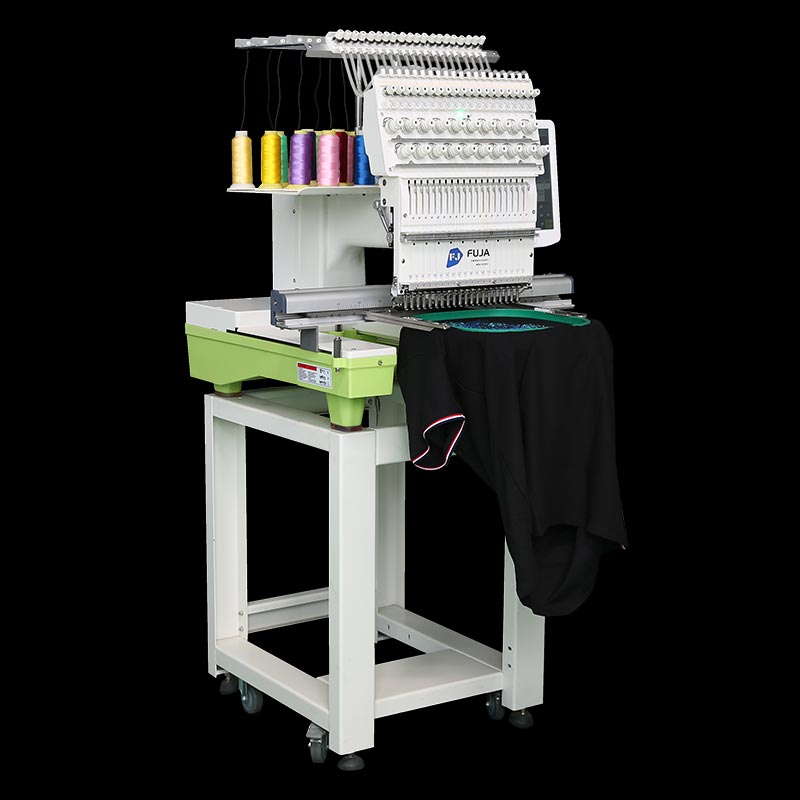
Possible Causes to Check
Thread Tension
Tension that does not suit the thread and setup may affect stitching. Check the threading first, then use the manual’s test and adjustment process. Compare the sample after one permitted change.
Thread Condition
Inspect the thread for visible damage, knots and inconsistent feeding. Check its storage and supplier instructions. Compare a known suitable spool under the same test conditions if the manual allows it.
Needle Condition
Check needle type, size and visible damage for the fabric and thread. A damaged or unsuitable needle may affect the thread. Stop and follow the manual before replacing it.
Thread Path
Compare the thread path with the exact model diagram. Check the guides and tension points the manual allows operators to inspect. Do not bypass a guide to keep the machine running.
Fabric Support
Check backing, hooping and design density on the actual material. Fabric movement can affect the stitch result. Test the setup without overstretching the fabric.
Machine Care
Inspect accessible areas for lint and trapped thread. Clean or lubricate only as the model manual directs. Report unusual wear or damage instead of opening covered mechanisms.
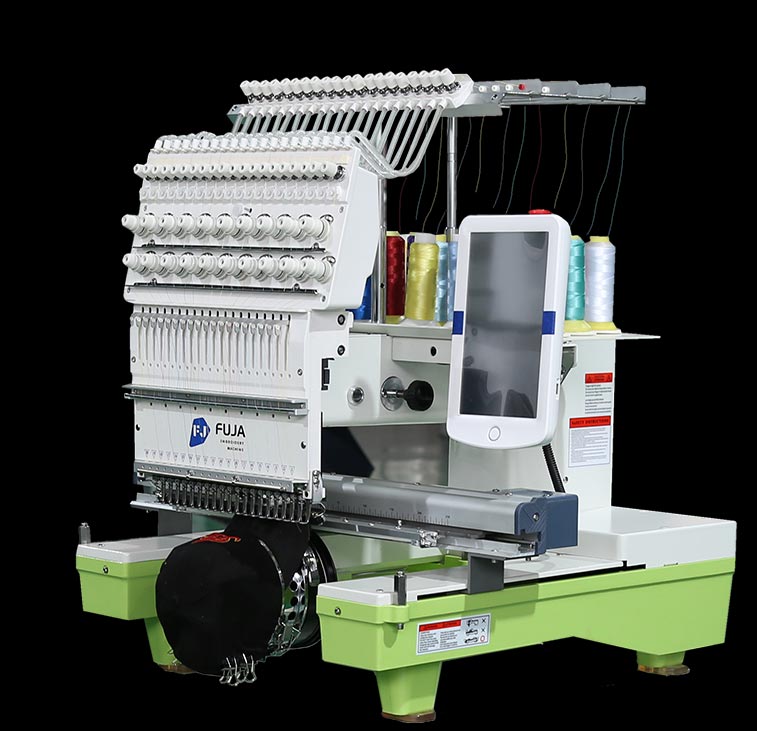
Preparing the Next Test
Check Permitted Tension Settings
Use a spare piece of the same fabric and the same design. Follow the manual when testing tension. Keep other conditions unchanged so the sample shows the effect of the adjustment.
Compare Suitable Thread
Use thread with known specifications and handling instructions. Check feeding and the sample under the same conditions. A brand name alone does not prove it will solve the problem.
Replace Damaged Needles as Directed
Keep the correct replacement needles available. Follow the manual before changing them, and confirm fit when the fabric or thread changes. Do not use a general replacement interval for every machine.
Follow the Threading Diagram
Use the exact model’s threading instructions. Check the allowed guides and tension points before testing again. Record any part that appears damaged.
Test Backing and Hooping
Use backing and hooping suited to the fabric and design. Inspect movement, coverage and the finished front and back on the test sample.
Follow the Model’s Care Schedule
Plan cleaning, lubrication and checks from the model manual and operating conditions. Record completed work. Ask service staff about tasks outside the operator instructions.
Conclusion
Keep records of the file, needle, thread, fabric and test results. If breaks continue after permitted checks, stop repeated adjustments and contact support. Include where the break happens and any screen message.
Ask FUJA to review the exact model and setup when you need advice. Share relevant samples and fault details. Confirm any proposed part, setting or service step before using it.